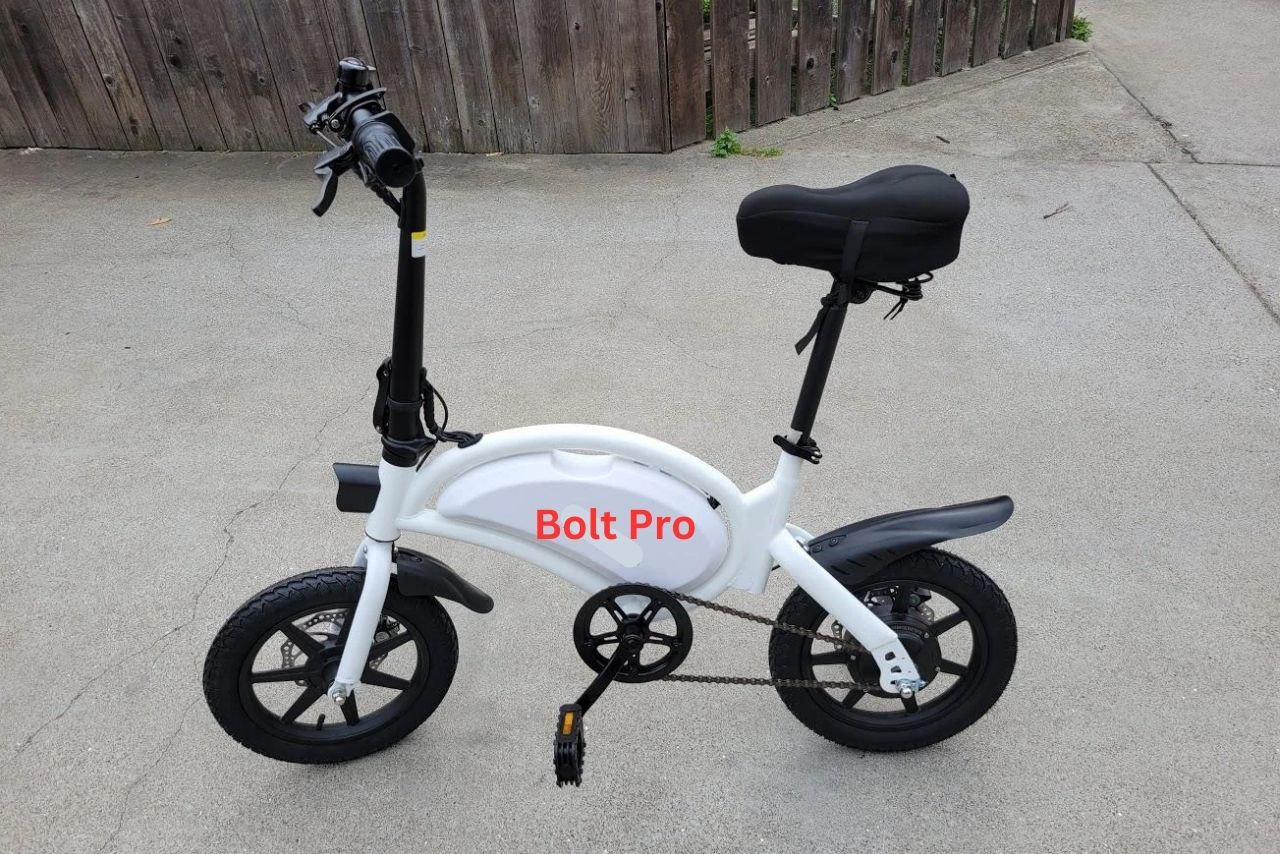
Are the handle grips on your Razor scooter worn out or damaged? Don’t worry, replacing them is a simple and straightforward process. In this article, we will guide you through the step-by-step instructions on How To Replace Razor Scooter Handle Grips.
Before you begin, gather the necessary tools and materials, which include a pair of pliers, a utility knife, rubbing alcohol, and new handle grips that are compatible with your scooter model.
Once you have everything ready, start by removing the old handle grips using the pliers and utility knife. Next, prepare the new handle grips by applying rubbing alcohol to the scooter handlebars and the inside of the grips.
Then, securely attach the new handle grips by sliding them onto the handlebars and ensuring a tight fit. Finally, maintain and care for your new handle grips by regularly cleaning them and checking for any signs of wear and tear.
With your new handle grips in place, you’ll be able to enjoy a smooth and comfortable ride on your Razor scooter once again.
Key Takeaways
How To Replace Razor Scooter Handle Grips? Simple Steps!
Here are the steps on how to replace Razor scooter handle grips:
Here are some additional tips:
Here is step by step guide to replace the handlebar grips:
1. Gather the Necessary Tools and Materials
You’ll need a few tools and materials to replace the handle grips on your Razor scooter. First, choose the right handle grip color that matches your scooter’s aesthetic. You can find a variety of colors to choose from online or at a local scooter shop.
Once you have the grips, gather a few tools, including a flathead screwdriver and a can of compressed air. These’ll help you remove the old grips and prepare the handlebars for the new ones.
Now, onto common mistakes to avoid while replacing handle grips. One mistake is not properly cleaning the handlebars before installing the new grips.
Make sure to remove any dirt or residue to ensure a secure fit. Another mistake is using too much force when installing the grips, which can cause them to tear. Take your time and push the grips on gently to avoid damage.
2. Remove the Old Handle Grips

To start off, let’s say goodbye to those worn-out, trusty rubber buddies that have been with your scooter through thick and thin. It’s time to replace them with fresh, new grips.
Here are some important steps to follow for removing the old handle grips:
- Select the right grip size: Measure the diameter of your scooter’s handlebars to make sure you choose the correct grip size. This’ll ensure a snug and secure fit.
- Tips for removing stubborn handle grips: If the grips are stuck, try spraying a small amount of soapy water or rubbing alcohol between the grip and the handlebar. This’ll make it easier to slide off. You can also use a grip removal tool or pliers to carefully loosen and pull them off.
Remember, removing the old handle grips is the first step towards giving your scooter a fresh new look and improved grip. Stay tuned for the next steps in our guide on how to replace razor scooter handle grips.
3. Prepare the New Handle Grips

Before moving forward, it’s essential to ensure that the new grips are properly prepared. Here are the steps to follow:
- Select the right handle grips that are compatible with your Razor scooter model and provide a good grip to prevent slipping.nn2. Measure the length of the old grips and compare it to the new ones to ensure a proper fit.nn3. Consider the material of the grips – rubber is a popular choice for its durability and comfort.nn4. Once you have selected the right grips, it’s time to install them securely.nn5. Apply a small amount of dish soap or rubbing alcohol on the handlebars to make it easier to slide the grips on.nn6. Push the grips onto the handlebars firmly, making sure they are evenly positioned.nn7. Allow them to dry and double-check that they are securely in place before riding.
4. Secure the New Handle Grips

Once the new grips are properly prepared, it’s crucial to ensure a secure installation for a comfortable and safe riding experience.
To install the new handle grips, start by applying a small amount of rubbing alcohol to the inside of the grip and the handlebar. This will make it easier to slide the grip onto the handlebar.
Next, align the grip with the end of the handlebar and firmly push it on, making sure it’s snug and secure. If you encounter any resistance, try adding more rubbing alcohol or using a twisting motion to help the grip slide on smoothly.
If the grip still won’t go on, you may need to trim the end of the handlebar or use a grip adhesive for added security.
Remember, a properly installed grip is essential for a comfortable and safe ride.
5. Maintain and Care for Your New Handle Grips
Taking care of your new handle grips is crucial to ensure a long-lasting and enjoyable ride experience. Cleaning and storing your handle grips properly is essential for maintaining their quality.
After each ride, use a mild soap and water solution to clean the grips, removing any dirt or debris. Avoid using harsh chemicals or abrasive materials that could damage the grip material. Once cleaned, allow the grips to air dry completely before storing them.
Proper storage is also important to prevent any damage. Keep the grips in a cool, dry place away from direct sunlight and extreme temperatures.
Additionally, choosing the right handle grip material can greatly enhance your riding experience. Consider materials like rubber or foam that offer a comfortable and secure grip, reducing hand fatigue and improving control while riding.
Watch Video: How To Replace Razor Scooter Handle Grips?
6. Enjoy a Smooth and Comfortable Ride
Get ready to experience the ultimate smooth and comfortable ride with handle grips that provide a secure and cushioned grip, allowing you to effortlessly glide along with pure enjoyment. Here are some tips to enhance your riding experience and improve scooter maneuverability while preventing hand fatigue:
- Optimal Grip: The handle grips are designed to fit perfectly in your hand, ensuring a secure and comfortable grip. This allows for better control and maneuverability while riding.
- Shock Absorption: The cushioned material of the grips helps to absorb shocks and vibrations from the road, reducing the impact on your hands and wrists. This feature ensures a smoother and more comfortable ride, even on bumpy surfaces.
- Ergonomic Design: The handle grips are ergonomically shaped to fit the natural contours of your hand. This design reduces strain on your fingers and wrists, minimizing the risk of hand fatigue during long rides.
Frequently Asked Questions
How Often Should I Replace My Razor Scooter Handle Grips?
You should replace your razor scooter handle grips when they become worn, torn, or lose their grip. To choose the right handle grips, consider the material, size, and comfort level.
Measure the handlebar diameter and follow the manufacturer’s instructions to properly install the new grips.
Can I Use Regular Bike Handle Grips as A Replacement for Razor Scooter Handle Grips?
Yes, you can use regular bike handle grips as a replacement for razor scooter handle grips.
However, keep in mind that bike handle grips may not fit perfectly and could affect the overall comfort and control of your scooter.
What Is the Best Way to Remove Stubborn Old Handle Grips from My Razor Scooter?
To remove stubborn old handle grips from your Razor scooter, try spraying a lubricant, like WD-40, under the grip and twisting it off.
If that doesn’t work, carefully cut off the grip with a utility knife. Consider alternative grip options for replacement.
Are There Any Special Techniques for Securing the New Handle Grips to Ensure They Don’t Slip Off?
To secure the new handle grips and prevent slippage, make sure the handlebars are clean and dry before installation.
Apply a small amount of water or rubbing alcohol to the inside of the grips, then slide them onto the handlebars firmly.
Can I Use Any Type of Cleaning Solution to Maintain and Care for My New Handle Grips, or Are There Specific Products I Should Use?
To maintain and care for your new handle grips, it is best to use specific cleaning solutions that are compatible with the material of the grips.
Avoid alternative cleaning methods to prevent damage.
Conclusion and final thoughts 💭
Replacing your razor scooter handle grips is a straightforward process that can greatly improve your riding experience.
By following the steps outlined in this article, you’ll be able to easily remove the old handle grips, prepare and secure the new ones, and ensure their longevity with proper maintenance.
With your new handle grips in place, you can look forward to a smoother and more comfortable ride on your razor scooter. So go ahead, gather your tools and materials, and enjoy the benefits of your newly replaced handle grips.


