
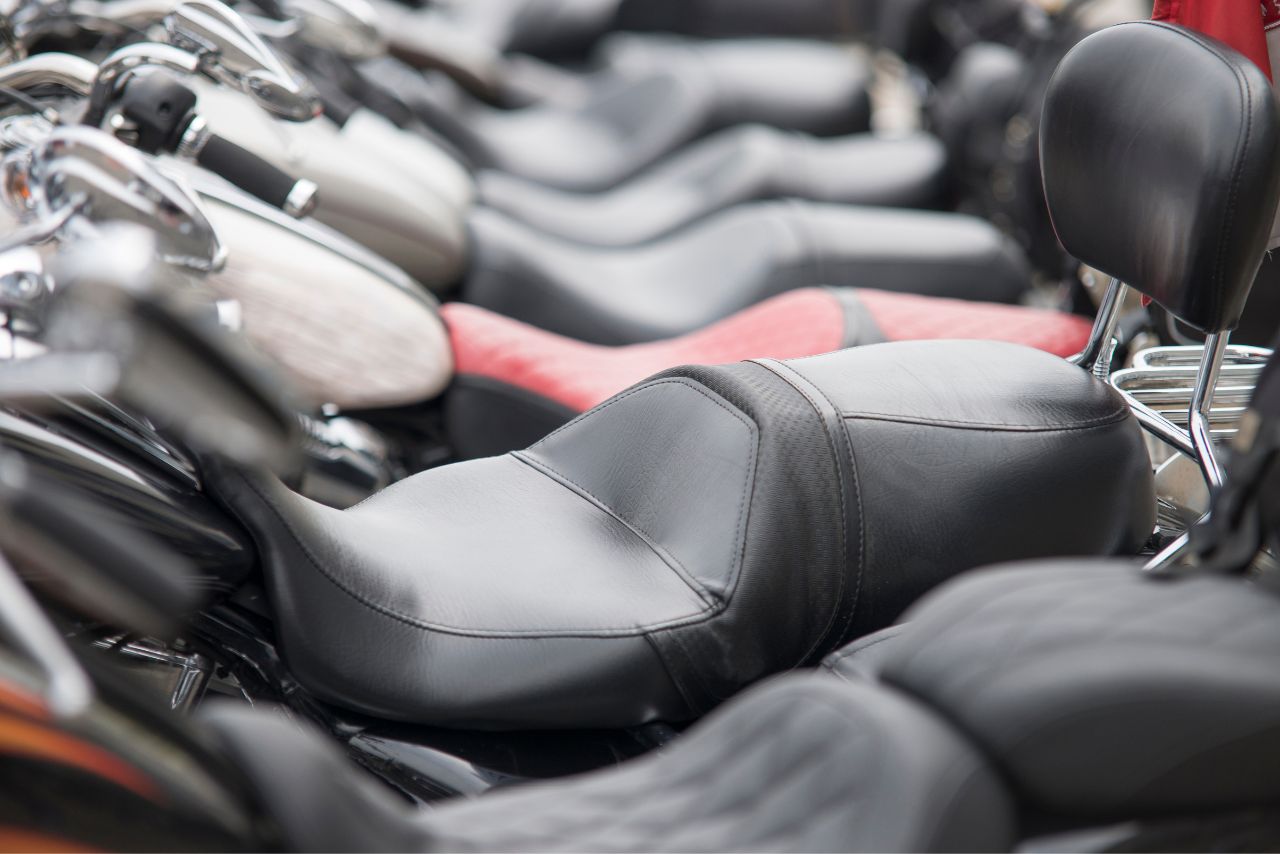
Are you tired of feeling uncomfortable during long motorcycle rides? Installing a gel pad in your motorcycle seat can provide the comfort you need.
This article will guide you through the process of installing a gel pad in your motorcycle seat, ensuring a more enjoyable ride. So, How To Install Gel Pad In Motorcycle Seat?


To begin, gather the necessary tools and materials, including a gel pad, adhesive, and a screwdriver. Next, remove the motorcycle seat by loosening the bolts securing it in place.
Once removed, prepare the gel pad by applying adhesive to the bottom side. Position the gel pad on the seat, ensuring it is centered and aligned.
Secure the gel pad in place by pressing firmly and allowing the adhesive to dry. Finally, reinstall the motorcycle seat and test the comfort of the gel pad.
By following these precise and detailed instructions, you can easily install a gel pad in your motorcycle seat, enhancing your riding experience and providing long-lasting comfort.
Key Takeaways
How To Install Gel Pad In Motorcycle Seat?
Here is the comprehensive guide to install Gel Pad in your motorcycle:
1. Gather the Necessary Tools and Materials
Now, let’s gather all the tools and materials you’ll need to install the gel pad in your motorcycle seat.
Choosing the right gel pad is crucial for a comfortable ride. Look for a gel pad specifically designed for motorcycle seats, ensuring it’s durable and provides adequate support.
| Tools Needed | Materials Needed |
|---|---|
| Screwdriver | Gloves |
| Wrench | Cleaner |
| Pliers | Replacement seat |
Additionally, consider the size and thickness of the gel pad to ensure a proper fit on your seat.
In terms of alternative materials for seat padding, you may opt for foam or memory foam inserts. These materials offer different levels of cushioning and can be cut to fit your seat.
Foam inserts are generally more affordable, while memory foam provides better pressure relief and comfort. Whichever material you choose, make sure it’s of good quality and suitable for motorcycle seat use.
Now that you have an understanding of the gel pad options and alternative materials, you’re ready to move on to the next step of installing the gel pad in your motorcycle seat.
2. Remove the Motorcycle Seat

First, carefully detach the cushioned part of your bike’s resting place. This step is essential before installing a gel pad in your motorcycle seat.
Before removing the seat, make sure to clean it thoroughly using a suitable cleaner to remove any dirt or debris. This will ensure a clean surface for the gel pad installation.
Next, locate the screws or bolts that are holding the seat in place. Use the appropriate tool, such as a screwdriver or wrench, to loosen and remove them.
Once the screws are removed, carefully lift the seat and detach it from the motorcycle frame. Keep track of any washers or additional parts that may be attached and set them aside for reassembly.
If you are replacing the seat entirely, remove any cables or connectors that may be connected to it. Now, you are ready to proceed with installing the gel pad or replacing the seat altogether.
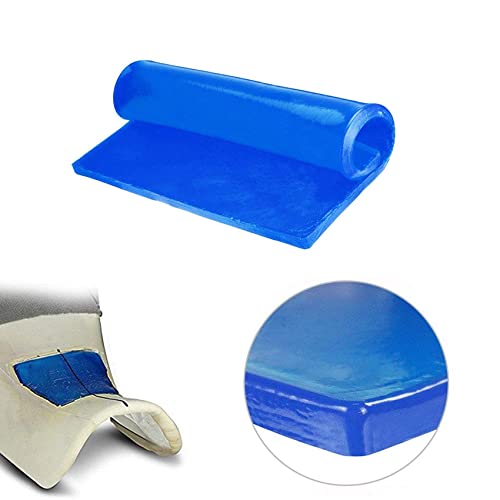
3. Prepare the Gel Pad

To get your bike seat ready for maximum comfort, it’s time to prepare the innovative gel cushion. Follow these steps to ensure a proper installation and maintenance of the gel pad:
- Choosing the Right Gel Pad: Start by selecting a gel pad that’s specifically designed for motorcycle seats. Look for one that provides adequate support and is made from durable materials to withstand long rides.
- Proper Maintenance of Gel Pad: To ensure the longevity of your gel pad, it’s important to take proper care. Clean the gel pad regularly with mild soap and water, avoiding harsh chemicals that can damage the material. Avoid exposing the gel pad to extreme temperatures or direct sunlight, as it can cause the gel to degrade over time.
By choosing the right gel pad and properly maintaining it, you can enjoy a comfortable and cushioned motorcycle seat for many rides to come.
4. Position the Gel Pad on the Seat

Get ready to experience ultimate comfort on your bike with the perfect positioning of the cushioning gel pad. Achieving optimal gel pad placement is crucial for enhancing your riding experience.
To ensure proper positioning, follow these steps:
Remember, proper gel pad placement is essential for maximizing comfort and reducing fatigue during long rides. Take the time to choose the right thickness and position for your gel pad, and enjoy a smoother and more enjoyable ride.
5. Secure the Gel Pad in Place

Ensure that your gel pad stays firmly in place, providing you with the stability and support you need for a comfortable and exhilarating ride.
When securing a gel pad in your motorcycle seat, there are some tips and tricks to keep in mind. Firstly, make sure to clean and dry the seat surface thoroughly before installation. This will ensure proper adhesion.
Next, peel off the backing of the gel pad and carefully position it on the seat, aligning it with the contours.
Once in place, press firmly to secure it. To enhance the bond, you can use a heat gun or hairdryer to heat the gel pad, allowing it to conform to the seat’s shape.
Avoid common mistakes such as rushing the installation or applying excessive pressure, as this can cause the gel pad to shift or bunch up.
6. Reinstall the Motorcycle Seat

Once you have securely fastened the gel pad, it’s time to reattach your seat for a seamless and comfortable riding experience.
Before reinstalling the seat, let’s take a moment to understand the benefits of using a gel pad in motorcycle seats and the different types available.
A gel pad enhances rider comfort by providing a cushioned layer between you and the seat. It absorbs vibrations and reduces pressure points, resulting in a more enjoyable ride.
Gel pads come in various forms, including foam-filled or liquid-filled options. Foam-filled pads offer a balance between support and softness, while liquid-filled pads conform to your body shape for maximum comfort.
To reinstall the seat, follow these steps:
Now you’re ready to hit the road with your newly installed gel pad, ready to experience the improved comfort it provides.
7. Test the Comfort of the Gel Pad

Take a seat and feel the difference as the road beneath you becomes smoother and the pressure points vanish, thanks to the newly installed gel pad. Now it’s time to test the comfort and durability of the gel pad.
Start by taking your motorcycle for a ride on different terrains. Notice how the gel pad absorbs vibrations and shocks, providing a more comfortable riding experience.
Compare this to other seat cushion options such as foam or air-filled cushions. You’ll find that the gel pad offers superior support and cushioning. It molds to your body, distributing your weight evenly and reducing fatigue on long rides.
Additionally, the gel pad is designed to withstand the elements, ensuring its longevity. So sit back, relax, and enjoy the smooth and comfortable ride provided by your new gel pad.
8. Enjoy a More Comfortable Ride
Sit back and let yourself experience the ultimate comfort and relaxation while riding your bike. Installing a gel pad in your motorcycle seat can greatly enhance your riding experience and increase your riding endurance.
The benefits of gel pads are numerous. They provide excellent shock absorption, reducing the impact on your body during long rides.
The gel material molds to your body, distributing your weight evenly and eliminating pressure points.
This promotes better blood circulation and prevents numbness in your legs and buttocks. Additionally, the gel pad acts as a heat barrier, keeping your seat cool even on hot summer days.
| Benefits of Gel Pads |
|---|
| Excellent shock absorption |
| Even weight distribution |
| Improved blood circulation |
| Prevention of numbness |
| Heat barrier for cooler rides |
Watch Video: How To Install Gel Pad In Motorcycle Seat?
Frequently Asked Questions
How Long Does It Take to Install a Gel Pad in A Motorcycle Seat?
Installing a gel pad in a motorcycle seat typically takes around 1-2 hours.
The installation process involves removing the seat cover, positioning the gel pad, and reattaching the cover.
The benefits of using a gel pad include improved comfort and reduced pressure points during long rides.
Can a Gel Pad Be Installed on Any Type of Motorcycle Seat?
When considering installing a gel pad in your motorcycle seat, it’s important to weigh the pros and cons.
Additionally, choosing the right gel pad for your specific seat is crucial.
Is It Possible to Remove the Gel Pad Once It’s Been Installed?
Yes, it is possible to remove a gel pad once it’s been installed.
However, it’s important to consider the pros and cons of using a gel pad in a motorcycle seat and choose the right one for your specific seat.
Will Installing a Gel Pad Affect the Warranty of The Motorcycle Seat?
Installing a gel pad on a motorcycle seat may not affect the warranty, but it can have potential drawbacks.
It may alter the seat comfort and may require removing the seat cover, adding extra weight, and changing the seat height.
Can a Gel Pad Be Installed on A Passenger Seat as Well?
Yes, a gel pad can be installed on a passenger seat as well.
The pros of using a gel pad on a motorcycle seat include increased comfort and reduced pressure points.
When choosing a gel pad, ensure it is the right size for your seat for optimal results.
Conclusion: How To Install Gel Pad In Motorcycle Seat?
You can successfully install a gel pad in your motorcycle seat and experience a more comfortable ride by following these steps.
- Ensure you have the necessary tools and materials.
- Remove the seat.
- Prepare and position the gel pad correctly.
- Secure it in place.
- Reinstall the seat.
Finally, test the comfort of the gel pad to ensure it meets your expectations.
With this simple installation, you can enhance your riding experience and enjoy a smoother journey.